Dimensional Inspection

Overview: Our Dimensional Inspection services ensure that your components meet precise specifications and quality standards. Using advanced metrology equipment, we provide accurate measurements and detailed reports for a wide range of parts.

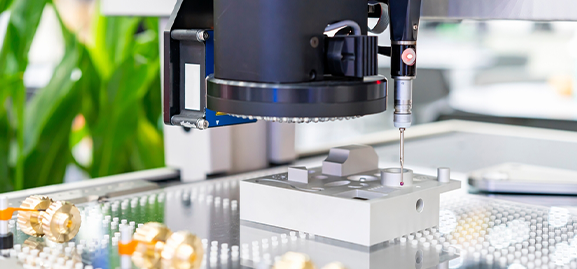
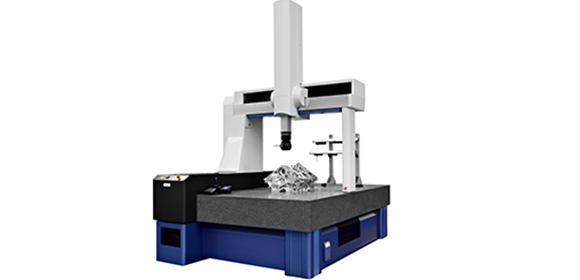
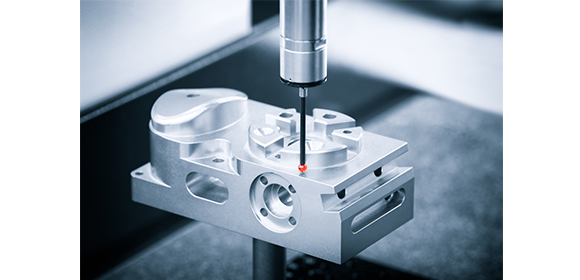
  • Coordinate Measuring Machine (CMM) Inspection

    High-precision inspections using advanced CMM technology to verify the dimensions of your components. Suitable for complex geometries and high-tolerance parts.

  • Vision System Inspection

    Automated 2D and 3D inspections using cutting-edge vision systems. Ideal for detailed measurements of intricate parts and assemblies.

  • Portable CMM Inspection

    Onsite inspection services using portable CMM equipment, allowing for flexible and accurate measurements of large or difficult-to-move components.

Actual Comparison / Part To Part Comparison

  • Color maps are an excellent way to visually identify sink, warp, twist and other undesirable characteristics as you evaluate your parts.
  • This is especially useful for organic and complex shapes where traditional CMM inspection may lack coverage and point density.
  • For product and process development, deviation analysis using 3D scanning is very cost - effective, you can quickly check the profile of your part against nominal CAD or a golden part

Process Of Dimensional Inspection

  • Determine the inspection requirements, including which dimensions need to be measured and the acceptable tolerances.
  • Preparation: Calibrate inspection equipment, ensure proper lighting conditions, and set up the part for measurement.
  • Measurement: Use the chosen inspection method to measure the dimensions and geometries of the part accurately.
  • Analysis: Compare the measured data against the design specifications or CAD models to identify any deviations or out-of-tolerance conditions.
  • Reporting: Document the inspection results in a detailed report, including any deviations found, measurement data, and recommendations for corrective actions.

Case Study

Introduction :

The precision of cylinder bores in automotive engines is crucial for optimal engine performance and fuel efficiency. Ensuring accurate dimensions can significantly enhance engine longevity and reduce emissions.

The Problem Statement:

A major automotive manufacturer faced inconsistencies in cylinder bore dimensions, leading to engine inefficiencies and higher fuel consumption.

Solutions:
  • A high precision Zeiss Coordinate Measuring Machine (CMM) with a high-precision touch probe was employed to measure the diameter, roundness, straightness, and surface roughness of the cylinder bores.
  • Deviations from specified dimensions were detected, prompting adjustments in the machining process.
Impact:

The corrective actions led to improved engine performance, reduced fuel consumption, and enhanced overall vehicle efficiency, showcasing the importance of precise dimensional inspection in automotive manufacturing.

Introduction :

Medical stents require high precision in their dimensions to ensure proper functionality and safety when implanted in patients. Any deviation can lead to significant health risks.

The Problem Statement:

A medical device manufacturer encountered difficulties in ensuring the dimensional accuracy of stents, which are intricate and have complex geometries.

Solutions:
  • A Vision Measuring Machine (VMM) was employed to inspect the stents.
  • The VMM utilized advanced optics and image processing to measure the intricate 2D geometrical features, including the length, diameter, and strut thickness.
Impact:
  • The VMM enabled precise, non-contact measurement of the stents, leading to improved quality control.
  • The manufacturer achieved higher consistency in stent dimensions, enhancing the reliability and safety of the medical devices.
Introduction :

Surface roughness on turbine blades in aerospace applications can significantly impact aerodynamic performance and efficiency. Ensuring smooth surfaces is essential for optimal engine operation.

The Problem Statement:

An aerospace company needed to ensure that turbine blades met stringent surface roughness requirements to avoid aerodynamic inefficiencies and potential failures.

Solutions:

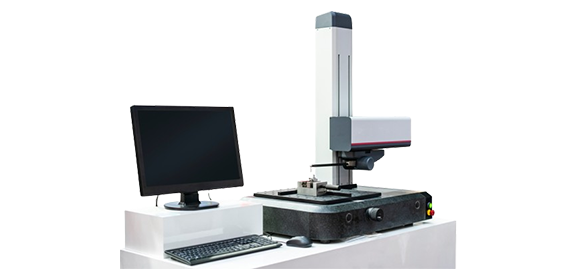
The company utilized a Roughness Tester to inspect the surface finish of turbine blades. Measurements of roughness parameters such as Ra, Rq (root mean square roughness), and Rt (total roughness) were taken at critical points on the blades.

Impact:

The precise roughness measurements allowed the company to identify and rectify surface finish issues, leading to improved aerodynamic performance and reliability of the turbine engines.
Contact us Through